
Tomyhoi Peak was a tough one, but so satisfying and worth it!
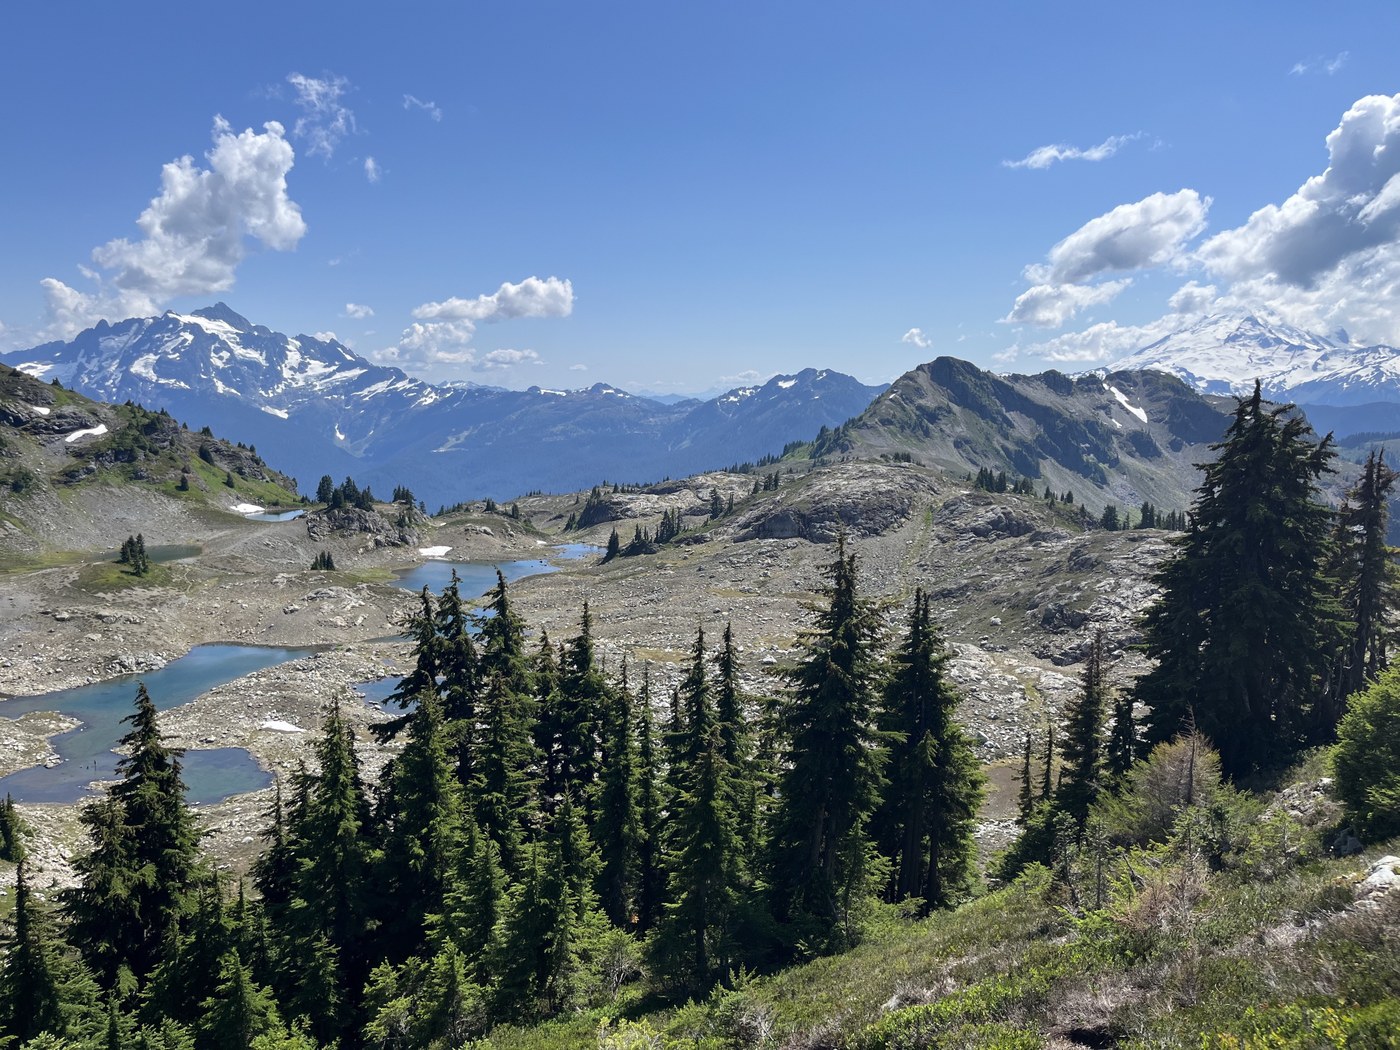
Arrived at the trailhead for Tomyhoi / YAB at 8am Friday, there was still plenty of parking. The trail up to the lake camgrounds below YAB was pleasant and easy. From there, we headed off to Tomyhoi and it got a bit more tough.
From the lakes, it hits you immediately with a very very steep eighth-mile ascent, then it levels out for a while with a more gentle gain. Then, a very steep descent with a few no-fall sections - this was tough on the return trip once our legs were tired.
As we were approaching Tomyhoi and the glacier was in view, the trail got significantly harder to follow. Problem is, there's a lot of false summits and a lot of people who were fooled by them and left trails.
When you reach the snowfield at the very top of the glacier, you need to cross the snowfield. At this point, there is a clear path that goes up the side of the rock to a spot on the ridge that looks like you could scramble from there - but you can't. Don't follow that path up. Instead, you need to traverse the three sections of snow and then scramble up the rock to the big false summit.
For the snow traverse, the sections you have to cross are pretty short - maybe 10-15 steps each. We did it with no equipment at all, just solid boot steps, because we'd already ditched our trekking poles earlier, having gotten tricked by a false summit and thinking it was time to scramble. I felt fine just crossing with no gear, but it definitely would have been nice to have the trekking poles. Microspikes would make a nervous person feel a lot more confident, but personally I wouldn't want to carry that weight all this way just for this crossing. Crampons and ice axe would be totally unnecessary and a complete waste of weight, in my opinion.
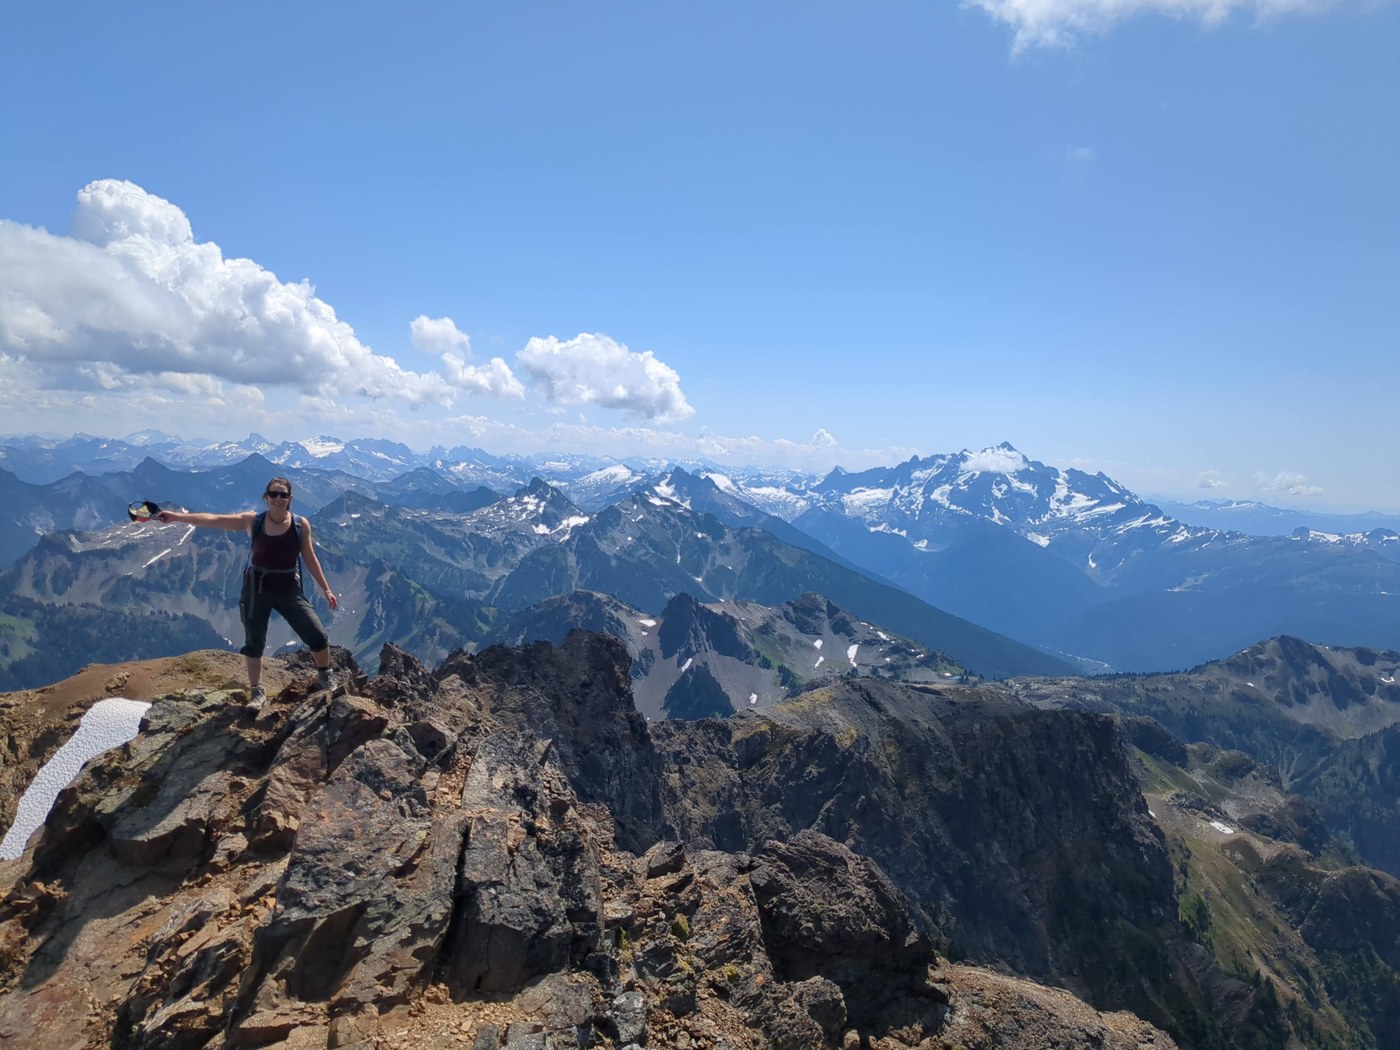
From the false summit, you finally see the true summit come into view. And it looks TERRIFYING from where you are. It looks totally exposed, like a death trap. But it's not. It really, really, isn't. It just looks so, so much worse than it actually is.
We nearly chickened out on the false summit, spent a good 20min deciding if we were going to give the summit block a go or not. Ultimately went for it, and so glad we did. It's a steep, scramble descent to the base of the summit block, and then a scramble up it to the true summit. Once you're down at the very base looking up, the route is very obvious (but also put a picture here for reference). The exposure is not so bad - only one or two really exposed spots. The scramble is pretty fun, with solid rocks. And the 360 view at the true summit is spectacular.
From there, just retrace back down and carefully finish the down-scramble. If I were to do it again, I would bring climbing helmets, since we were nervous about knocking rocks down onto each other during the scrambling.
We brought 2L of water each, and a water filter, and we didn't necessarily need to refill, but chose to filter an extra liter at the lakes on the way back to the car, just to keep ourselves fully hydrated on the downhill.
The bugs got really annoying in the final mile or so back to the trailhead.
Total times:
- Trailhead to lakes: 2hr
- Lakes to snowfield traverse: 2hr
- Wasted time routefinding: 30min
- Snowfield traverse to false summit: 15min
- Wasted time almost chickening out: 15min
- Summit block scramble: 15min
- Summit block downscramble: 15min
- False summit to back across the snowfield: 15min
- Back to the lakes: 1hr30min
- From lakes back to TH: 1hr30min
Total time: 8am - 4:45pm


Comments