I spent 4 days up in Marblemount with a guide from Mountain Madness heading up to Eldorado via the Roush Creek drainage. Not only did we summit Austera and Eldorado, but the guide I hired helped me with intermediate alpine climbing skills like setting pickets, gear placement, and leading a rope team.
Disclaimers: Getting to Roush Creek requires navigation skills, patience, 3+/4 class scrambling. Going further than the Roush Creek drainage is a technical trip involving climbing, glacier travel, and technical scrambling, depending on the destination. This should not be considered a hike! Moreover, the "trail" is an unmaintained climber’s trail -- do not expect kind switchbacks, a nice grade, and expect a number of blowdowns!
We grabbed our permit early from Marblemount for Eldorado East Ridge Camp on Friday; permits can be obtained the day before. Be sure to note which zone you will stay in and have plan Bs in mind in the event the camp is busy; it was packed on Friday night, but everyone skedaddled Saturday morning due to inclement weather.
Getting to the Trailhead
Driving out to the trailhead was straightforward—just be sure to head out early because the gate is closed to Boston Basin/Cascade Pass, so a large number of people are parking at the trailhead to also go to those destinations.
From the official trailhead, head east approximately 50’-100’ and look for a cairn on the north side, along with a minor brush clearing. This is where the route begins.
North Fork Cascade River Ford
The North Fork Cascade River crossing right now is pretty raging. You will need to go across a 100’ log over water at least 1.5’ deep; I couldn't quite make out the depth because it was so murky, but it was deep. Shimmying across the log is highly advised—just be sure to keep your legs up to avoid getting wet near the end as the log dips a bit into the water the further along the ford you go. There are sections where you will need to scramble on all fours to hop over a log: carefully tread across, keeping contact on the log, or you risk falling in.
Crossing when wet is not advised; we crossed after a rainstorm and it was less fun than the return trip was, which was considerably more dry.
If this doesn’t sound appealing, please try another trail/climb! This is just a taste of what you’ll encounter later on.
The woods after the North Fork Cascade River
This is where the scrambling begins.
This section involved intense routefinding and class 2 muddy/rooty scrambling. We got lost because the blowdowns had sufficiently covered the bootpath and other social trails had sprung up in the original trail’s place, but on the way back we spotted some pink flagging off to the left of the log.
Beyond that, it’s up up and away to the talus field.
There is a section where there's a non-clear fork in the "bootpath". Head left, not right (the right seems to be a newer social bootpath).
Expect steepness on par with Hibox Mountain, but more difficult to follow involving more veggie belaying and careful stepping over mud and duff.
Talus Field
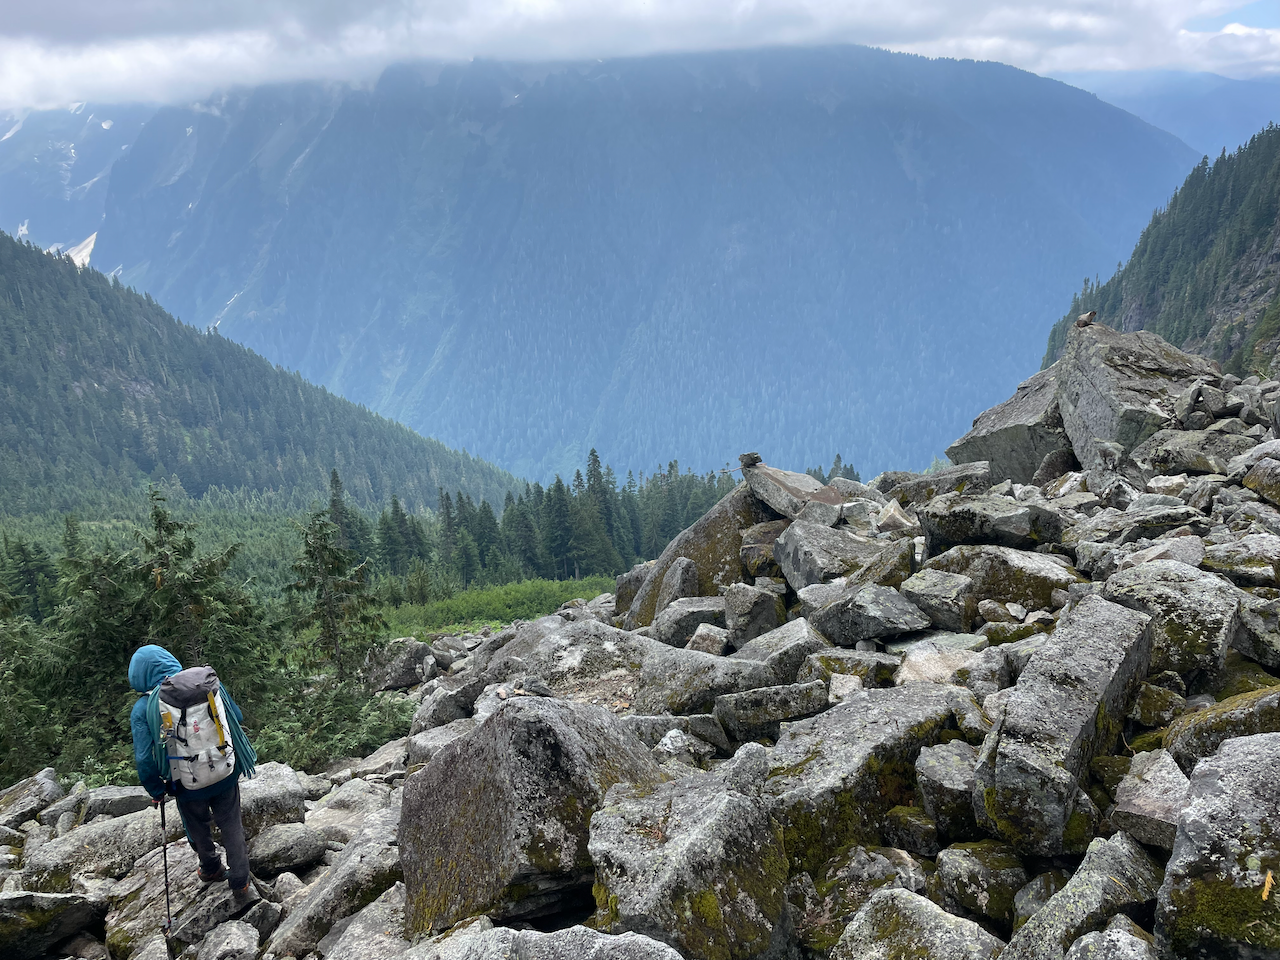
This is the really hard part for those getting up to the meadows.
The general trick to use is follow the less lichen covered boulders, and where possible veer right to find the bootpath through the brush and look for cairns. This section will go on for about 1.5k’ (will update with more accurate specs later) until it crosses a creek and mellows out into the meadows. If you are going straight up the boulder field, you are likely off the more easy/beaten path.
There’s a lot of class 2/3 bouldering along with a class 3+/4 set of flakes in the beginning.
The class 3+/4 section isn’t fun to do when wet or with a large pack; I was using my 75L Osprey Ariel and got an assist on the way down since my Trango Towers were soaked from the wet ferns, moss, etc.
Meadows
I'd take a breath if you've gotten here.
This section is still a scramble, but the grade gets considerably easier (the routefinding isn’t easier though).
Follow the cairns through the area, sticking to the most obvious beaten in mud bootpath possible. There are areas where the path across the meadows go over wet/mossy creeks and large embedded rock faces, but the cairns were generally spot on.
Once you get to the top of the meadows, you start your descent into the Roush Creek drainage.
Roush Creek
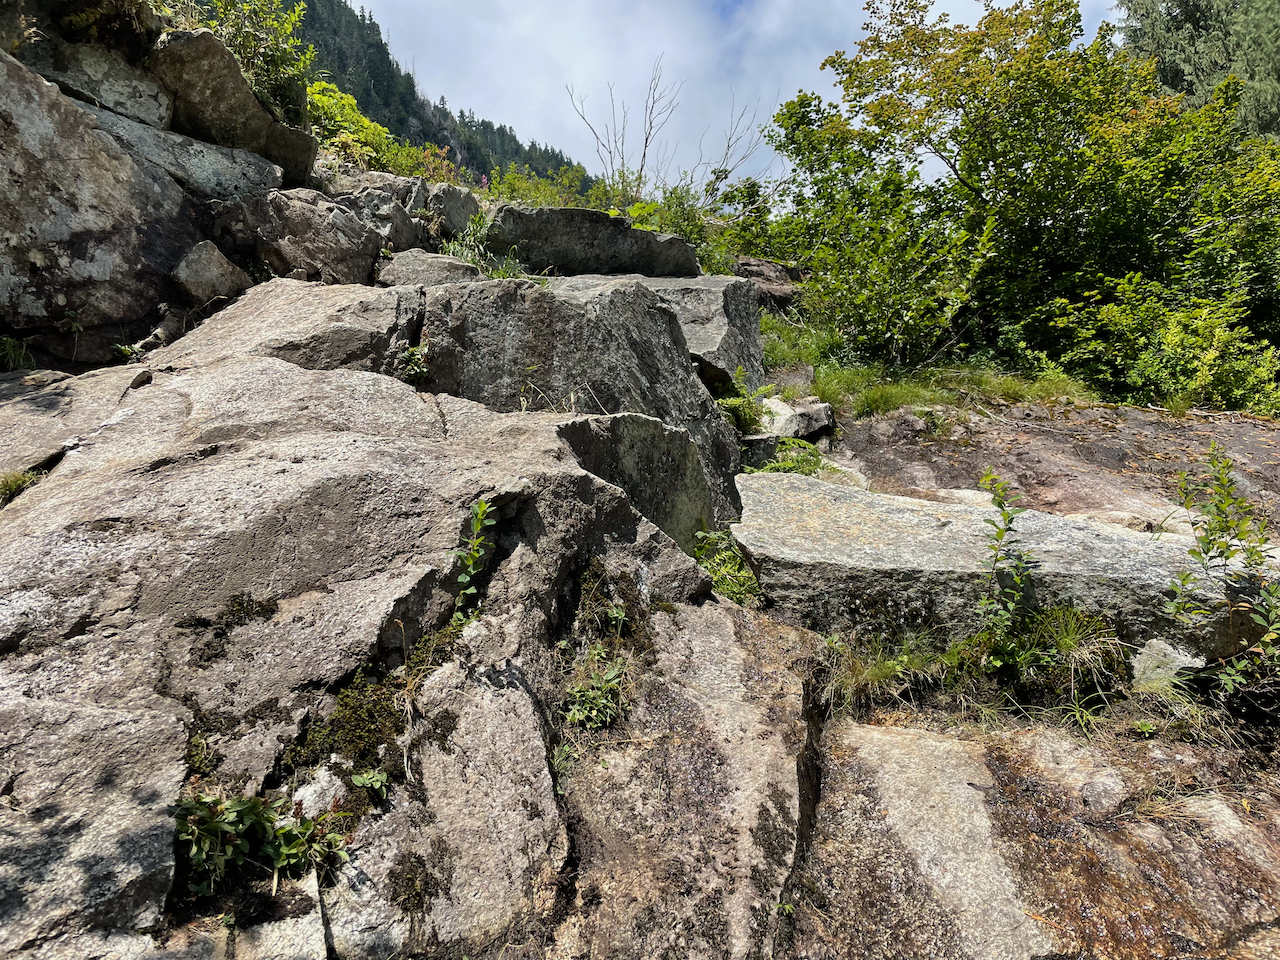
The guide who was leading the trip warned me of the descent into the drainage section, but I found it relatively easy with time, patience, and careful stepping. There's a tricky granite step near the bottom that requires some careful placement, but otherwise it's super straightforward chunky mud steppes going down the hillside into the drainage.
Trace the drainage opening to the right (E), then start dropping into the drainage proper. Note the beautiful creeks, stones, flora, and rock forms.
There were some cairns in this section, but the general rule of thumb was to stay to the right (E) once past some creeks, look for a gold loose scree ramp to the right, ascend, and zig-zag back and forth over granite rock faces to the Eldorado Glacier.
Eldorado Glacier/Inspiration Glacier to Eldorado East Ridge Camp
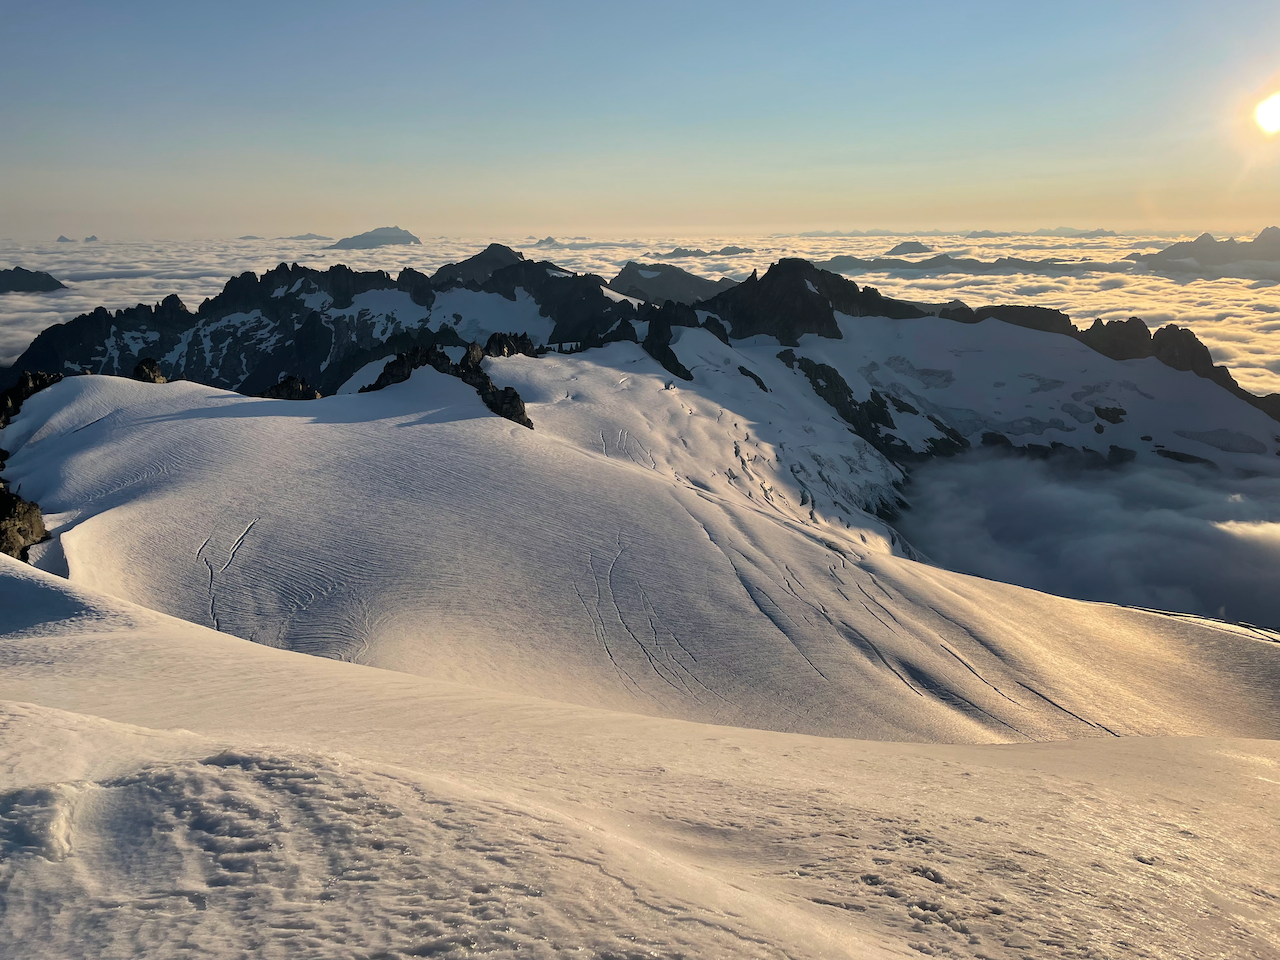
Continue up the E section of the Eldorado Glacier, hugging the rock wall a bit, until you can see the Eggplant (listed as Point 7733 on some maps). Stay to the left (W) of the Eggplant walking up the arm to the left, going on to the Inspiration Glacier from the SE where the Eldorado and Inspiration Glaciers meet.
Most of the crevasses in this section were somewhat visible, but also very small. We stepped over them all after probing around the crevasses.
Do not go far right! There is an ice wall/cliff near the Eggplant!
Eldorado East Ridge camp is at 48.53522, -121.12334 (approximately). It's a good idea to wrap around following the contours for the sake of efficiency, using the most direct route possible over the Inspiration Glacier. Avoid going too far too the right as there are a number of crevasses and glaciation that occurs, leading down into Moraine Lake.
Eldorado East Ridge camp has a lot of fun cracks to place gear and practice building anchors.
Eldorado East Camp to Klawatti Peak
This was a fun traverse across the Inspiration Glacier, following the contour lines as best possible, zig-zagging around large crevasses. Two of the paths separating the large crevasses were <4' wide, so be careful and intentional with your steps, while of course being roped up!
You will go to the right of the Tepeh Towers following the 7.8k' contour most of the way. This section involves steep sidehilling.
Getting up Klawatti Peak requires ~600' of rock climbing. It's best to only attempt this when dry! We didn't summit Klawatti yesterday as the rock was very wet from the snow/rain from the 2 prior days.
Klawatti Peak to Austera Peak Traverse
This was fun and doable, but it required some downclimbing and repelling, as well as a competent lead climber for climbing back up the E side of the ridge separating Klawatti from the Austera Peak Towers via the gap between the McAllister and Klawatti Glaciers.
The gap is at about 48.55843, -121.10482. Getting over there involves traversing above several crevasses (likely 'shrunds) near Klawatti Peak's W face.
There was a repel anchor to the right of the gully we repelled down. It might be wise to belay/repel down this section as the stone was a lot easier to walk down compared to the gully IMHO (I'm a newbie repeller though, so YMMV 🤷♀️).
Don't even attempt to climb the gully: it involves a lot of shoddy loose scree/rock.
Getting to/from the gap between the glaciers required some degree of downclimbing to the bottom of snow moats, then hopping on/off rock. Short roping and belaying/front pointing with crampons will likely help.
The final push to Austera Peak is fairly straightforward, watching out for obvious crevasses, coming up the SSE side of the peak. It involved a lot of loose scree and nasty lichen/moss covered rock. The false summit was easy to reach, but the true high point required some care due to the slippery rock. Be careful as the W face has a steep drop-off, as well as the N face.
Eldorado East Camp to Eldorado Peak
This route was pretty straightforward to me. After leaving the Eldorado East Ridge camp, turn left and head straight uphill, zig-zagging, while staying near the rocky ridge.
There were some crevasses and moats along the way, so some care is definitely advised.
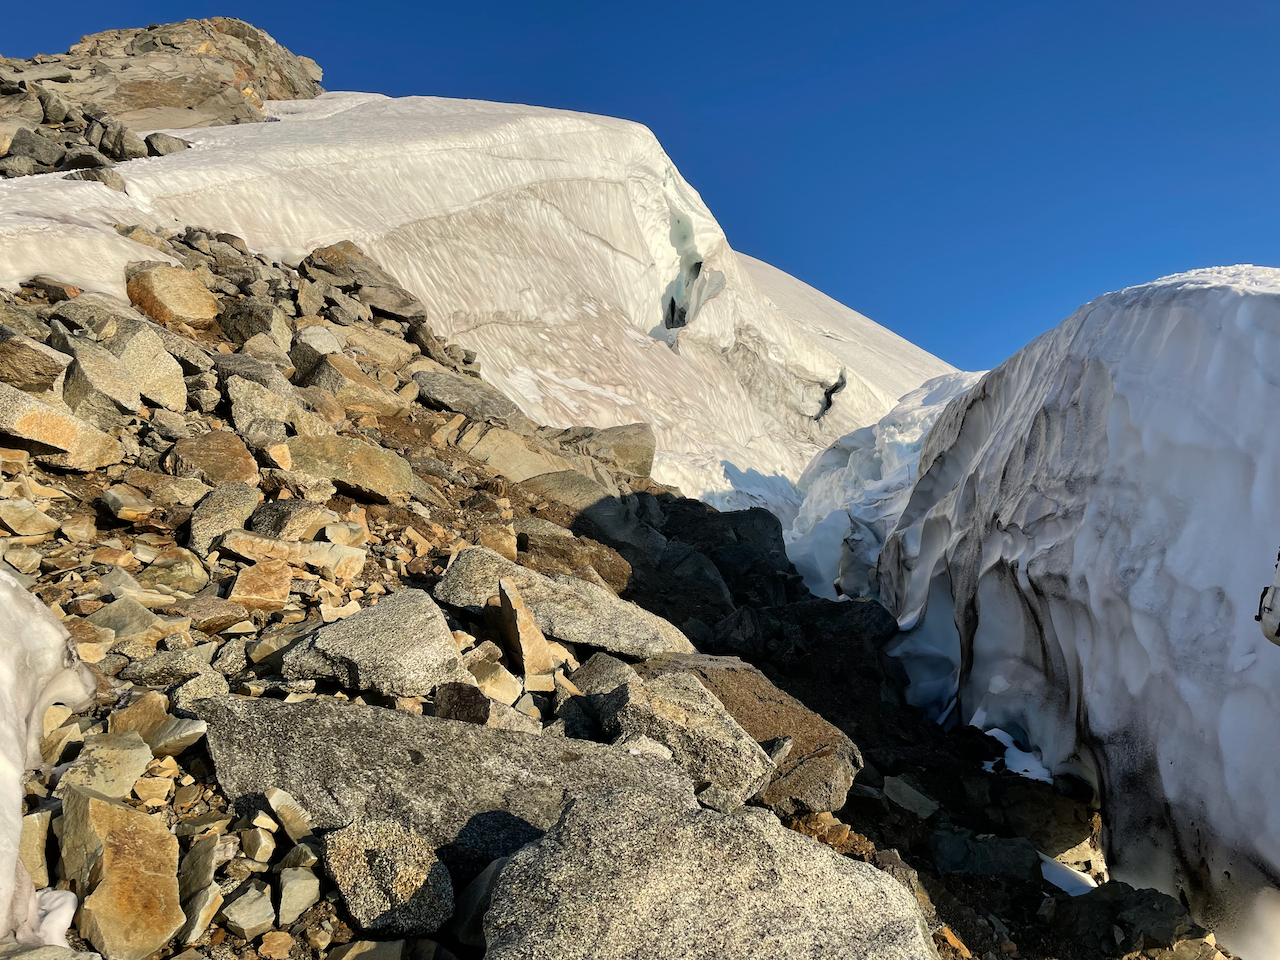
We downclimbed a short section with a large moat--front-pointing our crampons and using an ice-axe/short-rope--climbed up over the rocks, then zig-zagged up the ridge again, sort of hugging the right (E) side of the ridge.
The step down into the moat required walking across a narrow (<5' wide) snow moat that was at least 20' high. Care was required here.
Once you're up to the knife-edge ridge, you will see a tarn (it was frozen when we went up) to the right (NE) and a sharp drop-off to the left (W side). Walk the ridge using pickets as need be to help mitigate the risk of falling on either side (we used 2 pickets, but some groups might feel more comfortable with 3).
The final ridge walk was very straightforward and reasonably well-buffered with high consequence on the left/right (S/N) sides, but short-roping is advised. The summit block was dry.
We picked up our pickets on the way out.
Gear Used
- 30m rope
- Belay device (ATC)
- Carabiners
- Locking (2)
- Non-locking (3)
- Climbing helmet
- Crampons
- Crevasse rescue kit
- Ice axe
- Mountaineering boots (La Sportiva Trango Towers)
- Sun hoodie
- Tents and associated multi-day gear
- Trekking poles
Notes
A GPS track that I recorded on the way down through the talus field to the trailhead is attached to the linked Peakbagger entry (well, will be tomorrow -- I'm tired after a 4am start). I wouldn’t expect the track to be 100% accurate in general or be useful beyond this year, depending on how the land changes. The bootpath was affected greatly by this past year's windstorms/maintenance issues.
I tried to capture as much of my trip as possible here, but my Instagram account has more pictures.


Comments