 Washington Trails
Association
Trails for everyone, forever
Food tastes so good after a day of hiking, but first you need to cook it. Here's everything you need to know about picking a stove for your hiking adventures. By Sandra Saathoff
One of my favorite moments of the day during a backpacking trip is that first forkful of dinner making its way into my mouth. Food tastes so good after a day of hiking. Of course, first I need to cook dinner, and that brings us to today’s gear topic: stoves and fuel. In true capitalist fashion, there are many options to choose from and they each have their pros and cons. Let’s take a look at the general options, as once you’ve decided what type of stove seems most suited to you, you can search for options within that category.
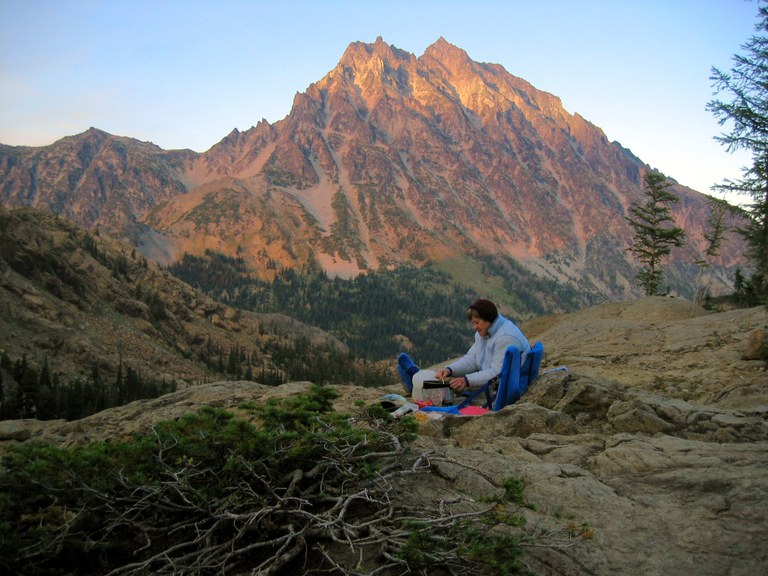
Preparing dinner near Lake Ingalls. Photo by Ginger Sarver.
Canister stoves seem to be the most popular on trail these days. The stove screws onto the gas canister, which sits on dirt (with no flammable material nearby) and provides a single burner on which you can place your cooking vessel. These stoves generally use isobutane or propane and the type of fuel used is determined by the stove purchased — the manufacturer will indicate what type of fuel canister to purchase.
Canister stoves tend to be simple to use and lightweight. There are lots of manufacturers to choose from and a quick Internet search will provide a comparison between the options if you’re in the market for a new stove. The stoves generally come with prongs that open into a burner, a valve by which the amount of fuel is controlled, and a port that screws onto the top of the canister. Some come with a built-in lighter, while most are lit with a match or hand-held lighter.
Most canister stoves are only as stable as the surface on which they are placed and the burner is not terribly wide. Take care, as tipping would be annoying, result in dumping your water or meal on the ground, or be dangerous — potentially starting a fire or causing a burn.
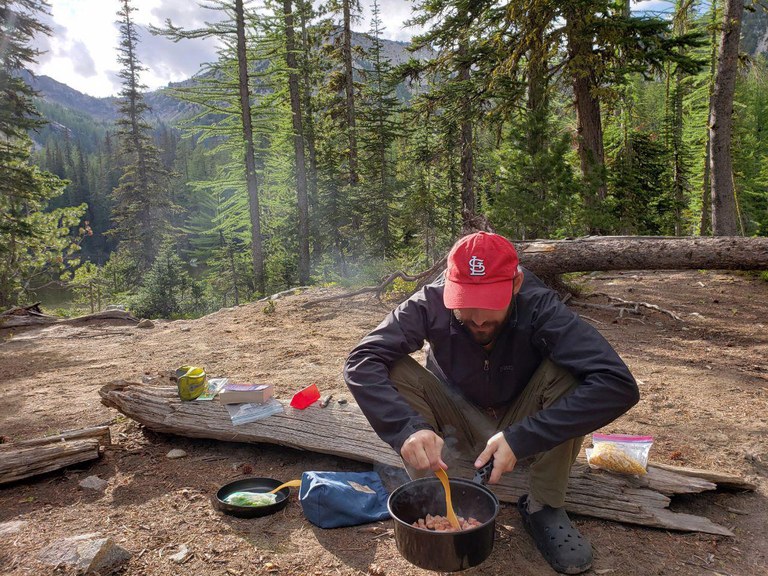
Cooking near Martin Lake. Photo by Elizabeth Montague.
For colder or winter conditions, liquid fuel stoves that use white gas might offer a more positive experience. Canister gas will not ignite in temperatures below 15 degrees Fahrenheit, while liquid stove fuel is usable down to 40 degrees below zero. Liquid fuel stoves consist of a burner and valve, along with a pump to create pressure in the tank that holds the fuel and a connection point to the fuel. When you’ll be out for long trips, this can be a lighter weight option than carrying multiple fuel canisters. Some groups also prefer how liquid gas stoves make it easier to know how much fuel you have, or to bring extra fuel for large groups or long trips. Liquid stoves do require some maintenance, but being able to cook when it’s cold makes up for that. The maintenance is generally outlined in the stove instructions (or online) and consists of taking the stove apart and cleaning it with warm water, soap and an old toothbrush. Then you need to dry the stove completely to prevent rust and clean the fuel line with WD-40 or mineral oil.
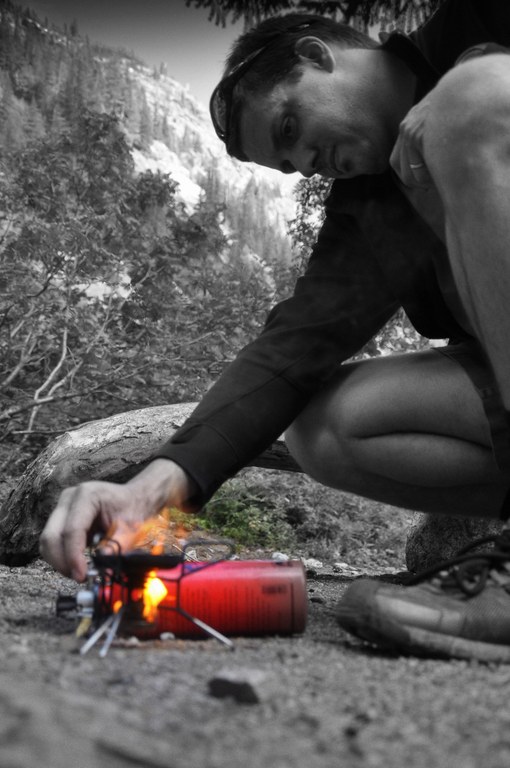
Liquid gas stoves are another option. Photo by Jerrod Stafford.
These stoves are incredibly lightweight and can either be commercially purchased or made from a cat food can or cut-down soda can, appealing to weight-conscious hikers or DIYers. In addition to the stove, you carry a bottle of denatured alcohol, which is inexpensive and easy to find. A portion of alcohol is poured into the stove port, where it is lit and then burns until the alcohol has been consumed. These stoves require little to no maintenance and rarely malfunction. However, a windscreen is often necessary to protect the flame and some trial and error is needed to determine how much fuel is needed. Never ever try to refill an alcohol stove while it’s burning. The fuel bottle can ignite, a clear danger to oneself and one’s environment.
Alcohol stoves burn at a lower heat than the other two options previously mentioned and the temperature can’t be controlled. The true concern with these stoves is the fire danger. During fire restrictions, alcohol stoves may be banned because of the possibility of spilling fuel. Several fires on the PCT have been started by hikers using alcohol stoves. In case of a fire caused by a fuel spill, remember to smother the fire with dirt, not water. Water will only transport the fire to new places.
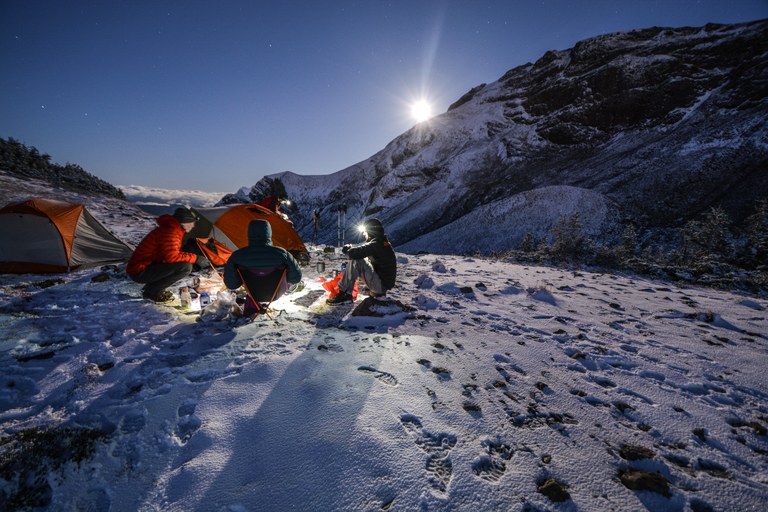
A warm meal is particularly welcome in the snow. Photo by Kevin Radach.
Wood stoves take away the need to carry fuel, instead putting the burden on the backpacker to find dry twigs — and they can take a lot of fuel. This makes this option lightweight but hikers may find cooking challenging when adventuring in wet conditions or above the tree line. And in some areas, wood gathering is not allowed. As with alcohol stoves, the true concern with wood stoves is the fire danger. During fire restrictions, wood stoves may be also banned because of the possibility of embers on the wind starting a fire.
There’s always the option to leave the stove at home and cold soak dinner or only take food that doesn’t need to be cooked or hydrated. To cold soak, you carry a container with a screw top lid and dump your dinner into it, along with the amount of water needed to hydrate it, and let time do the work while you hike. Generally, you’d prepare dinner during your lunch break so when you’re ready to eat, your dinner is ready. It’s always good to research and test cold-soak meals in advance to be sure hydration is properly achieved and your dinner is palatable. The pro of this option is weight and space savings inside your pack. The con depends on how much you enjoy that morning coffee or hot evening meal. In colder conditions, you may have to hike with your meal inside your jacket so it has the chance to properly hydrate.
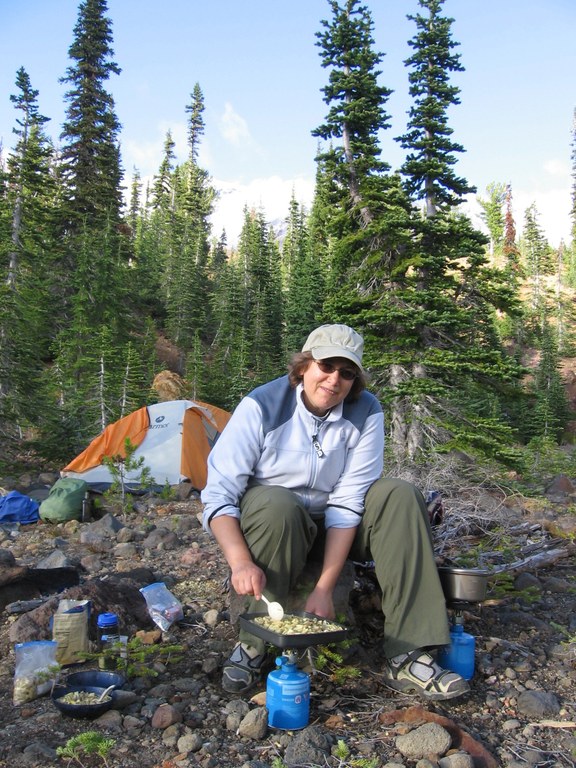
Making dinner at camp. Photo by Mariya Smit.
Whatever stove you plan to use, it’s good to make a practice meal before heading out on trail. This will help you learn how to operate your stove and help you assess how much fuel it takes to make dinner. Your fuel needs will vary depending on whether you’re just boiling water to dump into a pouch or are cooking something that needs to simmer. The same is true for breakfast: are you just heating up water for coffee or cooking eggs and bacon? Canisters come in multiple sizes and knowing that the smaller canister has plenty of fuel for your trip will save several ounces in your pack weight. On the other hand, knowing that you need the larger canister ensures you won’t be drinking cold coffee on the last morning.
Wind protection can be an important component to your cook system — for more than one reason. A wind screen protects your flame, allowing it to stay focused under the pot so it can efficiently heat the water, saving fuel. It also keeps the wind off your pot, again increasing fuel efficiency. But whether you spring for a commercial wind screen or make one out of a piece of aluminum foil depends on your stove choice. Commercial wind screens are not recommended with some canister stoves (read your manual) because they can trap excessive heat, potentially causing an explosion. You can use a bit of strategy when cooking in a breeze though. Finding a location that is sheltered from the wind can be as easy as moving to the sheltered side of your tent or behind a rock or stand of trees. You can also co-opt your food bag, water bottles and body to shield the stove from the wind. Understand your assets and use them. Efficiency in the backcountry is important — you’re likely hungry and ready for dinner — and you also want to be sure you have enough fuel to complete the trip.
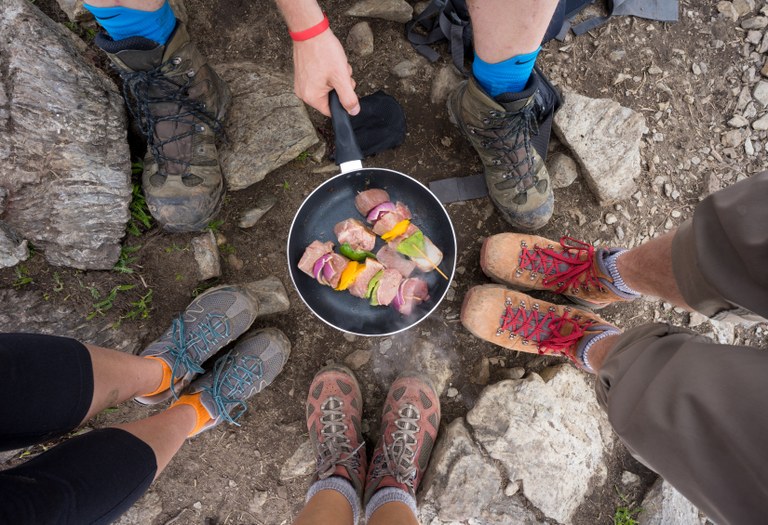
Cooking with friends. Photo by Angelita Sanchez-Monge.
It’s likely there will be at least some fuel left in your canister after your trip — hardly anyone is lucky enough to use the last ounce of fuel the morning they’re walking back to the vehicle. How do you know how much fuel is left and why is this important? If, for example, you were out for 5 days and know you have half a canister left, you can be reasonably certain that you can take the canister with you for another 5-day trip. There are two ways to determine what you’ve got left.
You’ll notice on the canister that there is a gross weight and a net weight. Gross weight is the weight of the full canister plus the fuel inside. Net weight is the weight of just the canister. The difference is how much fuel is inside. You can weigh your full canister when you purchase it. When you get back, weigh it again and record the weight with a permanent marker along with the date. If you had 8 ounces of fuel inside, and you now have 4, you know how much you have and under what conditions you used it, giving you a pretty good idea how many more meals worth of fuel you have available.
The second method involves floating the canister in a container of water. The canister will sink to a level in the water — lower if it has more fuel and higher if it has less. On the side of the canister, there are generally markings for full, half and empty. Again, take that permanent marker and note where the water level is on the canister, along with the date. This gives you a general idea how much fuel is left inside. I tend to like the weight method better, as it seems more accurate.
Once a canister is empty (leave your stove valve open outside to be absolutely certain) the best practice is to puncture it and take it to a recycling center that accepts hazardous waste or mixed metal. These locations generally accept used canisters, but you may wish to call ahead to be sure. The landfill is not the best place for fuel canisters. (A few places accept empty canisters for recycling, including The Mountaineers in Seattle.)
It seems like there’s a lot that goes into making sure you’re well-fed on trail, but most of that is deciding which system works best for you and the conditions you’ll be going out into, then purchasing and packing that option in your pack. After that, it’s just a matter of hiking and looking forward to another glorious meal. Bon appétit!