 Washington Trails
Association
Trails for everyone, forever
Cold soaking is a great way to save weight, money and time on trail if you're okay with eating cold food! Check out these tips and tricks to try it out. By Joseph Gonzalez
Cold soaking, sometimes referred to as “no cook,” is a method of preparing food in the backcountry without the use of a stove or flame. You simply put your dehydrated meal with water in a sealed container and carry it in your backpack until it’s soft enough to eat. The amount of time it needs to sit before being edible is relative, but the result should be a nutritious, tasty meal, but without the heat and hassle that comes with a stove.
Intrigued? Save time in camp and weight in your pack with these tips and tricks.
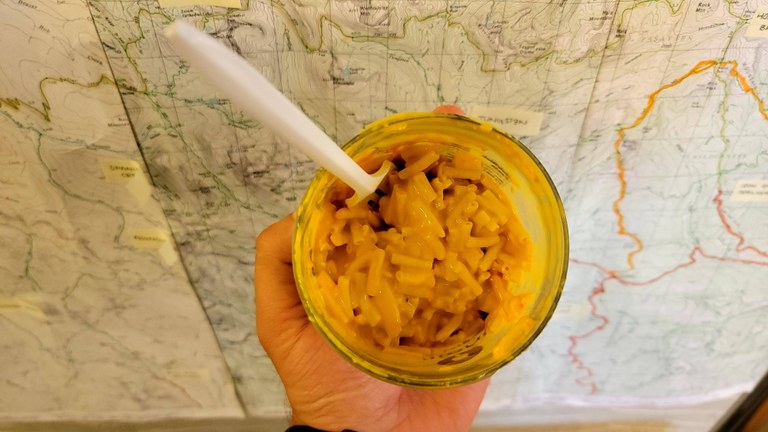
It tastes better after a long day on trail. Just trust us. Photo by Joseph Gonzalez
Cold soaking offers a number of benefits for intermediate hikers and those who hope to be more weight-conscious of their gear for a long trip. The most obvious is you’ll save weight by not fussing with a stove, fuel and a metal cookpot. For thru hikers, it means not having to worry about resupplying fuel or disposing of old fuel canisters.
It’s also a nice alternative when fire danger is high. Green spaces are expected to be subject to more and more fire danger every year, and it’s common for parks and wilderness areas to put fire bans in place, which often include the open flame of a stove. Cold soaking leaves a smaller footprint and without the risk of starting a fire. Finally, food is ready to eat once it’s been soaked. No hassle of putting together your stove and staring at water until it boils.

Pre-packaged dehydrated meals require little to no clean-up and are best enjoyed at scenic locations. Photo by Joseph Gonzalez
Cold soaking isn't for everybody. If hot food or drink is a highlight of your trip, it might not be for you. It relies on your being able to find reliable water sources, and you'll have to treat your water before you use it. This method also requires time and planning ahead — if the food isn't removed from the water at the right time it can have an unpleasant texture. Finally, without a stove, you don't have a way to warm up food or drink in case of an emergency.
Ultimately, the cold soak method is best wielded when paired with a variety of nutritious snack foods that can be enjoyed on the go and do not require heat or water to prepare. (That way, if you’re suddenly hungry, you have options that you can eat immediately, to supplement your cold-soaked foods.)
So, what kinds of foods can you cold soak? The short answer: any food that you would normally cook with water on a stove, but with a twist. Ideally, the jar sits in the kangaroo pouch (the stretchy, sometimes webbed pouch on the outermost layer of your pack) of your backpack while you hike, so the sun should have your dish at least tepid before it’s ready for consumption. If you don’t have a kangaroo pouch, put it in a water bottle slot on the side. Placing your jar on the outside of your pack is also great for protecting the precious contents of your pack in case your jar leaks.
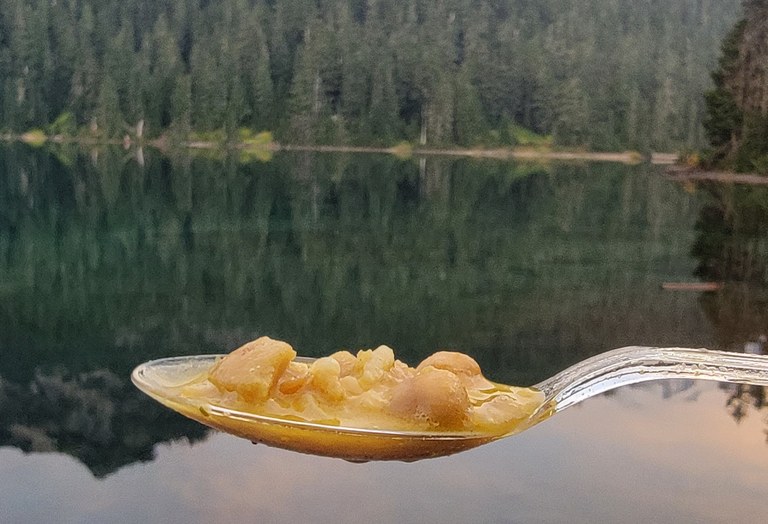
Butternut dahl, don't mind if we do. Photo by Joseph Gonzalez
Testing your favorite foods as a cold soak takes trial and error. You can make your cold soak meal at home to avoid the pitfalls of attempting it for the first time on trail. Also, keep in mind that similar foods can have different soak times depending on the ingredients and brand. For example: Items like split pea soup might not rehydrate to an appetizing dish without heat to help it coagulate, but will technically rehydrate very quickly. Raw lentils, on the other hand, can take hours to rehydrate before they are soft enough to eat.
Lunches and dinners are really where the cold soak method shines. Let’s take a look at some of the most popular hiking meals that are traditionally cooked over a stove.
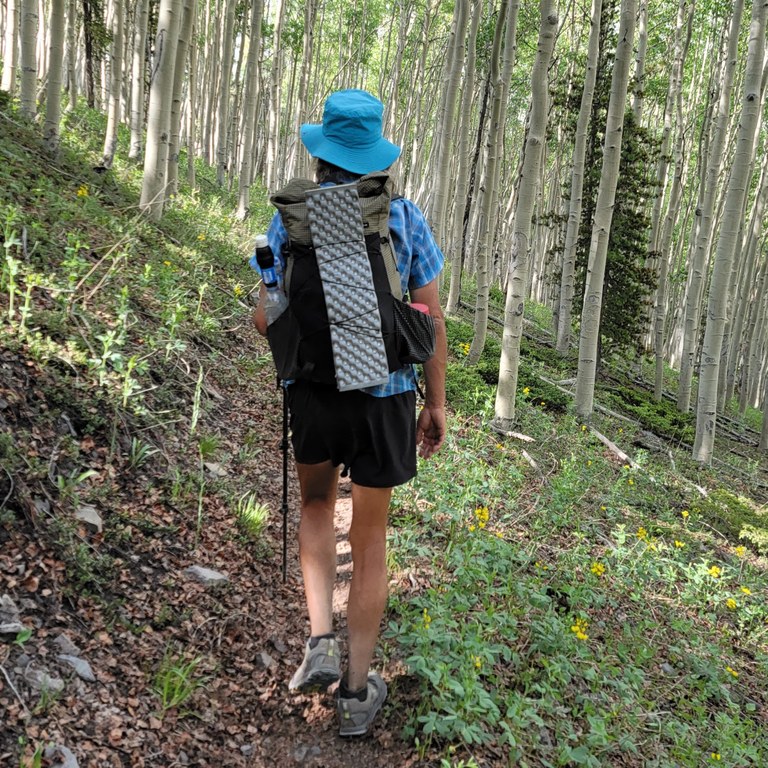
Cold soak jars are best placed on the outside of a backpack to mitigate spillage and get warm from the sun. Photo by Joseph Gonzalez
If you’re somebody who needs coffee before breaking down camp, consider switching to an instant coffee set-up. Starbucks and other brands offer instant, pre portioned coffee packets. Cold coffee doesn’t do it for you on its own? Mix it with hot chocolate, protein, and an instant Carnation Breakfast Essential Powder Mix for a no-cook morning boost to get your blood moving. Similarly, tea can seep in cool water, it just needs longer.
Hikers in need of caffeine can also consider caffeine pills and other drink mixes. They might not offer the aesthetic joys you’re craving, but they are practical.
Kraft Mac and Cheese is an easy (and delicious) cold soak option. Pour the noodles into your cold soak jar and fill with water up to the top of the noodles. Let it soak for about 45-60 minutes: Anything more can result in clumpy, soggy noodles. Empty the excess water when ready and apply cheese powder for a ready-to-eat cheesy masterpiece.

Mac and cheese is a popular cold soak option. The trick is knowing how to prepare it. Photo by Joseph Gonzalez
Ramen noodles are a great dish to test out your cold soak method because you can be as generous as you want with water you use without fear of it ruining your dish. The worst case if you add too much water is you need to drink a bit more broth during your meal (which is a good thing, considering you’re likely dehydrated after a long day walking). Simply toss in your dry noodles and flavor powder, sit back and wait. Just enjoy your noodles no more than 90 minutes after applying water or they’ll deteriorate.
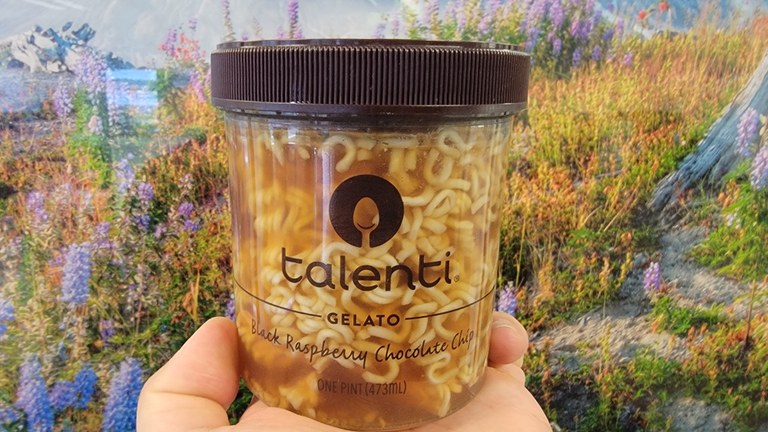
Ramen is an easy cold soak option. Not only does it hydrate well, but it will hydrate you too! Photo by Joseph Gonzalez
Perhaps the most convenient cold soak option is instant mashed potatoes. When they say instant, they mean instant. The powders don’t require heat to fluff up. In fact, soaking isn’t necessary: just add the prescribed amount of water, stir well, and enjoy right there on the spot. These are great for the hiker who is in need of a carb load in a pinch.
There’s a misconception that commercial dehydrated meals cannot be cold soaked, but we humbly disagree. Brands like PEAK Refuel, Mountain House and Backpacker’s Pantry rehydrate as well or better than any other food, and are a convenient option for the hiker who doesn’t have patience for cleaning and maintaining their cold soak jar (more on that below).The self-contained packaging is a one stop shop for prepping, eating and disposing of your meal.
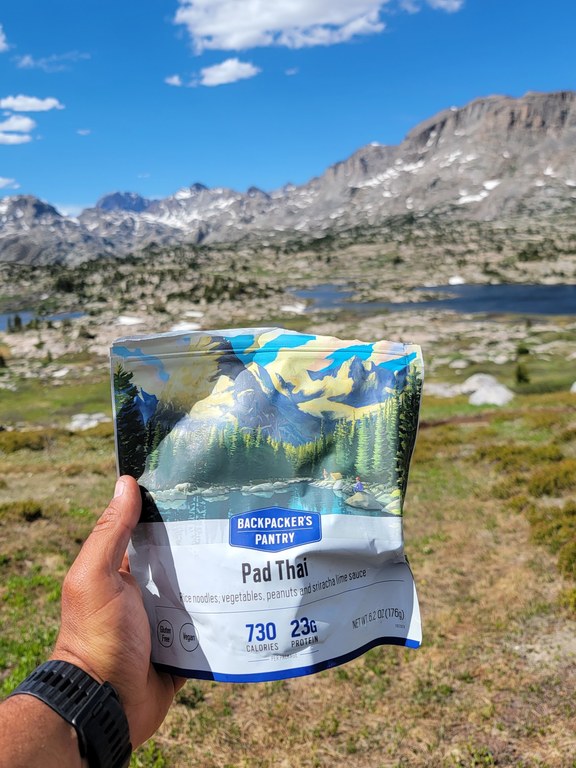
Cold soaking also works with commercial dehydrated meals. Photo by Joseph Gonzalez
The drawback to this option is the long rehydration time. It’s best to wait 2-3 hours before digging into your commercial meal, so remember to be mindful of future-you and fill-up your cold soak bag in the early afternoon so it's ready by dinner time.
The vessel you cold soak your food in can make or break your system. Your jar should be wide and shallow enough for utensil mobility (no food on our knuckles, please and thank you). It also must have a sealable lid to prevent leakage. Avoid glass and metal containers to keep the weight down. Finally, the container must have volume to accommodate your dish (and your appetite), while being compact enough to fit in the pouches of your pack.

Peanut butter isn't just a great trail snack — peanut butter jars are also great for cold soaking! Photo by Joseph Gonzalez
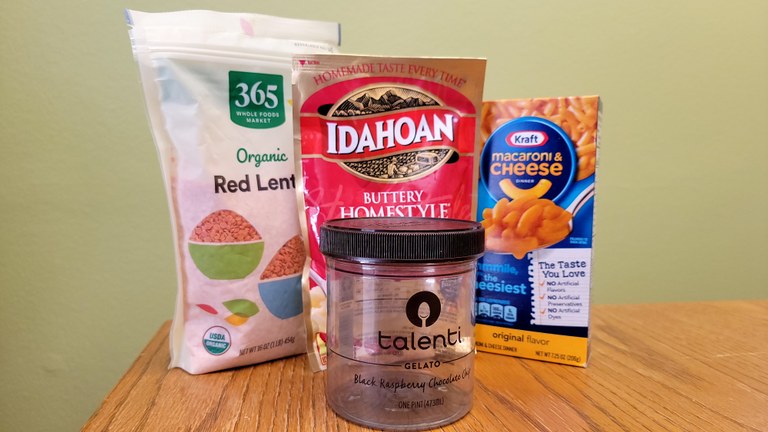
Cold soaking jar and food ready to be packed away. Photo by Joseph Gonzalez
Cold soaking is an art form. For the weight conscious hiker who’s mindful of their footprint and interested in adding a new skill to their repertoire, it can be a way of life. Be sure to check your water access, make a timeline for when you want to eat and pack a great cold soaking jar if you decide to try it. With these techniques you can enjoy a lighter pack, be less constrained by fire limitations and leave a smaller footprint while on your journeys.