How to Dehydrate Food
As hikers and backpackers, we depend on lightweight, easy-to-prepare food for our backcountry adventures. But the standard shelf options are often limited and expensive. For a budget-friendly and customizable menu, it’s worth it to dehydrate your own food. Here’s how you can do it.

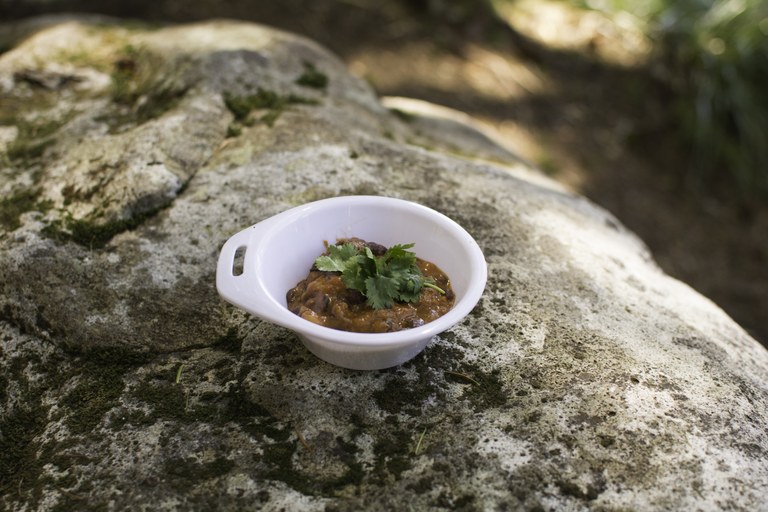
Chili or stew is a useful dehydrated food to keep on hand, and it's easy to make — just double a recipe you're already making! Photo by Erika Haugen-Goodman.
INGREDIENTS
Most things can be dehydrated, but some require extra prep work. Raw meat, raw egg and other food you wouldn’t eat raw need to be cooked before dehydrating. (You can get around dehydrating your own eggs by using Ova Easy or another brand of crystallized egg.)
Some fruits and vegetables benefit from blanching before dehydrating. Dry goods like pasta can be dehydrated once cooked. They require less water in the backcountry if you prep them and dehydrate them at home.
EQUIPMENT
Good dehydrating evaporates all moisture without actually cooking the food — typically 120-170 degrees.
For temperature precision, efficiency and long-term cost effectiveness, your best bet is a food dehydrator. Models range from $40 to more than $400. Pick one with at least 500 watts and temperature control to at least 160 degrees.
Your home oven will work fine for dehydrating too, though you’ll lack the temperature control that most recipes require.
How To
Directions vary significantly depending on your machine, humidity, food type, food size and method. Generally, food should be heated until it is entirely dry.
Fruit should be leathery when done, while vegetables will be brittle. Meat will be gravelly, flaky or jerky-like depending on the type used. Follow your machine’s directions, but be prepared to adjust as necessary.

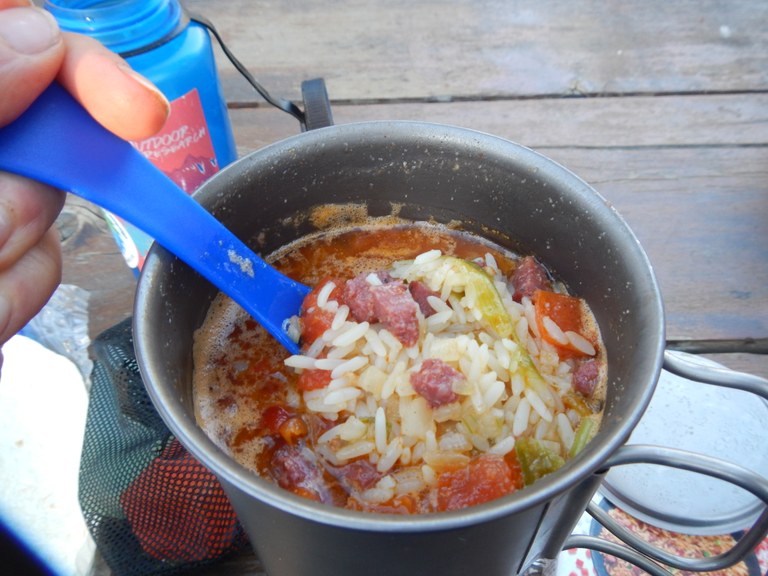
Rice with jambalaya spices and salami added in after cooking makes a great mostly dehydrated meal for on-trail. Photo by Anna Roth
INDIVIDUAL INGREDIENTS
Dehydrate each ingredient individually and package a recipe together afterward. Wash and dry food, then slice it into thin, uniform pieces (1/8-inch to 1/4-inch) and lay it on the dehydrating tray without overlapping. Cook according to your machine’s instructions.
Some food can become bland, while other foods concentrate their flavors when dehydrating. You'll learn which does which as you get more experience. But it's always smart to put together a small spice collection for your backpack to enhance your meals.
Once you have a pantry stash of dried staples, you can create custom meals or bring add-ins for your favorite store-bought backpacking meals (right).
WHOLE MEALS
Dehydrating is great for leftover chili, soup, spaghetti and other saucy meals with similarly sized ingredients. Simply lay the food on a lined tray and spread it out evenly. After dehydrating, break the sheet into pieces and portion it out for your next trip.

STORAGE
Let food cool completely before storing in airtight containers in a cool, dark place.
For pre-portioned meals, ziptop baggies work well. You can even cook your meals in ziplocs if you double bag them in freezer bags. Label your meal (masking tape on the bag works well) and include a note about how much each bag will make when rehydrated. Assume the food volume will double when you add water.
Shelf life depends on several variables, but a safe assumption is about six months to one year at room temp.
For a longer shelf life, toss the bags in the freezer or fridge. You can also go the extra mile and look into canning or vaccuum-sealing if you want it to last even longer.
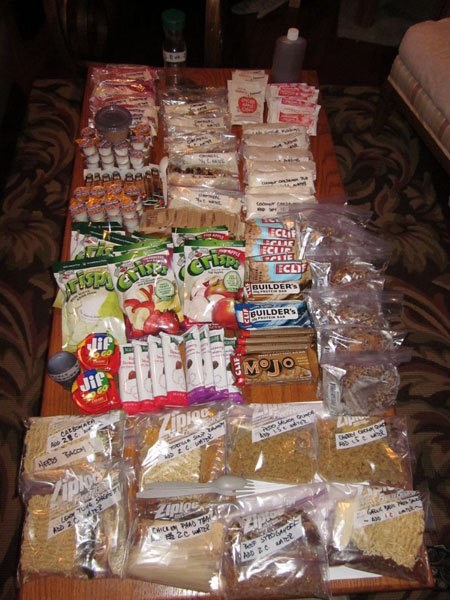
Dehydrated food for 8-days backpacking! Photo by Gwen Tollefson.
COOKING
Assume about one cup of water per cup of dried food, adjusting portioning as necessary, and remember you'll need more water if you're adding rice to your dehydrated meal.
Pour the dehydrated food and water into a standard hiking pot, cover and bring to a boil.
Bring it to a gentle simmer until the water is absorbed. If you’re low on fuel, cover food with boiling water and let it sit. A pot cozy will help retain heat.
You can also try cold soaking if you prefer to not deal with stoves and fuel in the backcountry. Note that you need to let your food soak for quite a long time if you want to go this route; put your food in at least an hour and a half before you want to eat it. You'll want to soak your breakfast overnight, too.


